Applies To: DVMAX v8.5 and higher- DVMAX v8.7
Purpose: DVMAX Anywhere allows clients to electronically sign DVMAX word processing documents. This document outlines the steps you must take to configure the images folder path to ensure that the signed documents are visible in the DVMAX Client application.
...
These steps must be followed prior to using the signature capture feature in DVMAX Anywhere. If these steps are not followed, images attached in DVMAX Anywhere will not be visible in the DVMAX Client application.
Table of Contents
Verify Images Path
**If you have not attached images to DVMAX Client patient records in the past, please verify the path to the images folder is mapped correctly:
...
- Windows - https://dvmaxkb.atlassian.net/wiki/display/DP/Imaging+configuration+for+DVMAX+7+on+Windows
Set Image Path for Anywhere
- Log into DVMAX Client application with a user that has access to System Constants
- Access Advanced Settings
- Hold down Shift Key / From the Section pull-down choose System Constants
- Read the Alert / Click I Understand
- The Advanced Settings window will open.
- In the filter box, search for px.serverImagesPath. If the setting exists, click in the Value field and enter the path to the images folder on the server (See information below on finding the path on both a Machintosh and a Windows server).
- If the setting does not exist, click the Plus Icon in the bottom left corner of the window
...
4. Close the Advanced Settings window
Verify Steps Were Completed Correctly
- Open DVMAX Anywhere
- Special Menu pull-down
- DVMAX Anywhere
- Launch Anywhere on Computer
- Login
- Open a patient record
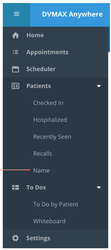
- Patients Section, search for Patient by Name
- Search for a patient to be used for testing
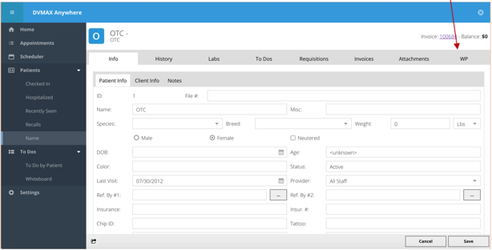
- Click on WP tab
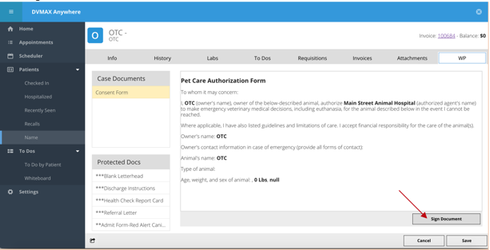
- Click Sign Document
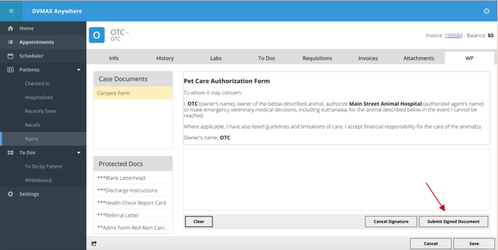
- Click Submit Signed Document
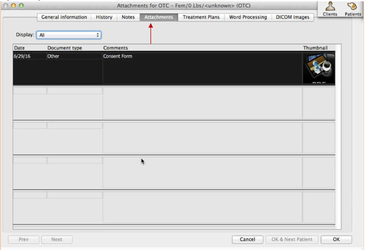
- Open the patient record in DVMAX Client and click on Attachments tab
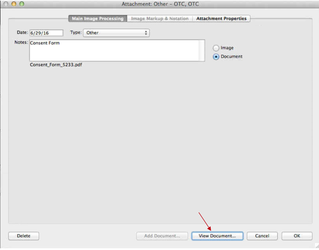
- Double-click on the Consent Form Attachment
- Click View Document
- The consent form PDF will open. If the document does not open, please contact Tech Support at 800-950-5455.
Anywhere 2.0 Signature and Initial Tags
Anywhere 2.0 allows you to choose where you'd like the client signature or initials inserted. When creating your word processing document, you'll see new word processing references for Signature Tags.
...